
Poor refrigeration setup is one of the most expensive mistakes a food service business can make. A single overnight temperature failure can mean thousands of pounds in spoiled stock, a failed hygiene inspection, or worse, a food safety incident that damages your reputation permanently. Yet most setup errors are entirely preventable with the right preparation. This guide walks you through every critical stage of commercial refrigeration setup, from assessing your actual storage needs and gathering compliance requirements, through to installation best practices and post-installation verification. Whether you are opening a new restaurant, upgrading a hotel kitchen, or expanding a café, getting this right from day one protects your investment and your customers.
Table of Contents
- Assessing your refrigeration needs and workflow
- Gathering requirements: Equipment, space, and compliance
- Installation process: Step-by-step best practices
- Verification and common mistakes to avoid
- What most commercial refrigeration guides miss
- How EcoFrost supports seamless refrigeration setup
- Frequently asked questions
Key Takeaways
| Point | Details |
|---|---|
| Assess real needs first | Tailor refrigeration systems to your menu, volume, and space for maximum efficiency. |
| Follow strict installation steps | Professional setup, correct spacing, and certified equipment are essential for safety and compliance. |
| Verify and maintain regularly | Routine checks and cleaning prevent costly failures and keep your kitchen running smoothly. |
| Layered systems beat oversized units | Using several units for different uses improves workflow and food safety over relying on one large fridge. |
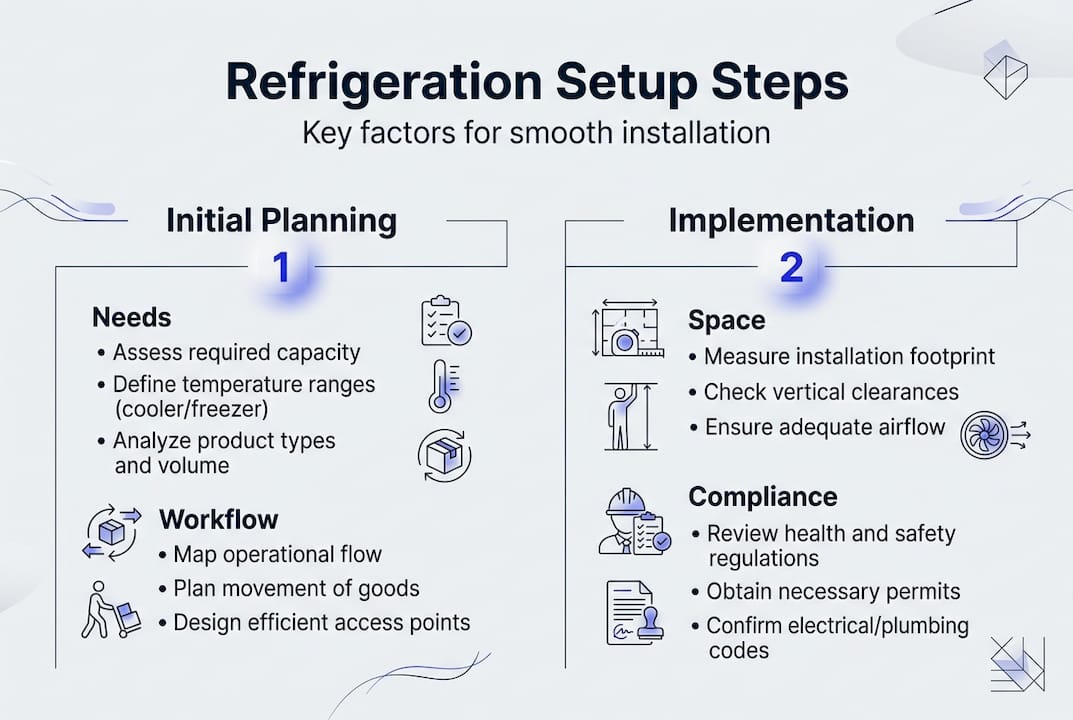
Assessing your refrigeration needs and workflow
Before you purchase a single unit, you need a clear picture of what your operation actually demands. The volume of food you handle daily, the variety of your menu, and the physical layout of your kitchen all shape which refrigeration types and capacities will serve you best. A busy hotel kitchen managing breakfast buffets, à la carte dining, and room service has fundamentally different needs from a small neighbourhood café.
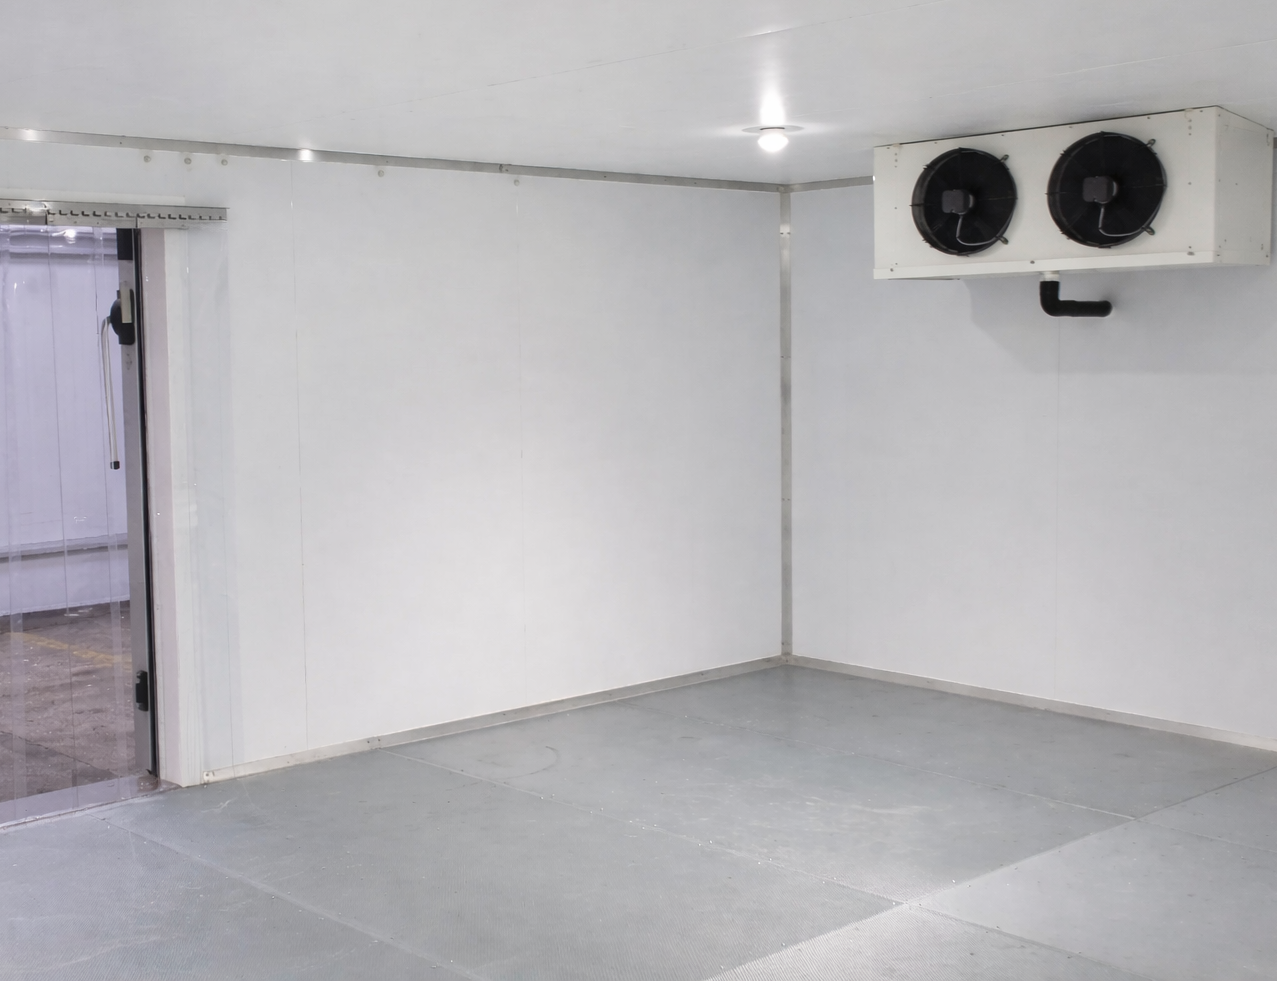
Start by mapping your workflow. Where does food arrive? Where is it prepped? Where is it served? The distance between these points determines where refrigeration units need to sit. Undercounter units work well directly at prep stations, while walk-in coolers suit bulk deliveries and overnight storage. Reach-in refrigerators bridge the gap, offering quick line access during service.
A layered refrigeration approach is far more effective than relying on one oversized unit. As needs assessment guides confirm, prioritising volume, menu, and layout before selecting equipment, and using layered systems, optimises both workflow and food safety over single oversized units. Here is how typical setups look across different businesses:
- Restaurant: Walk-in cooler for bulk produce, reach-in units on the line, undercounter fridges at prep stations
- Hotel kitchen: Large walk-in cooler and freezer, multiple reach-ins for different food categories, dedicated pastry prep refrigeration
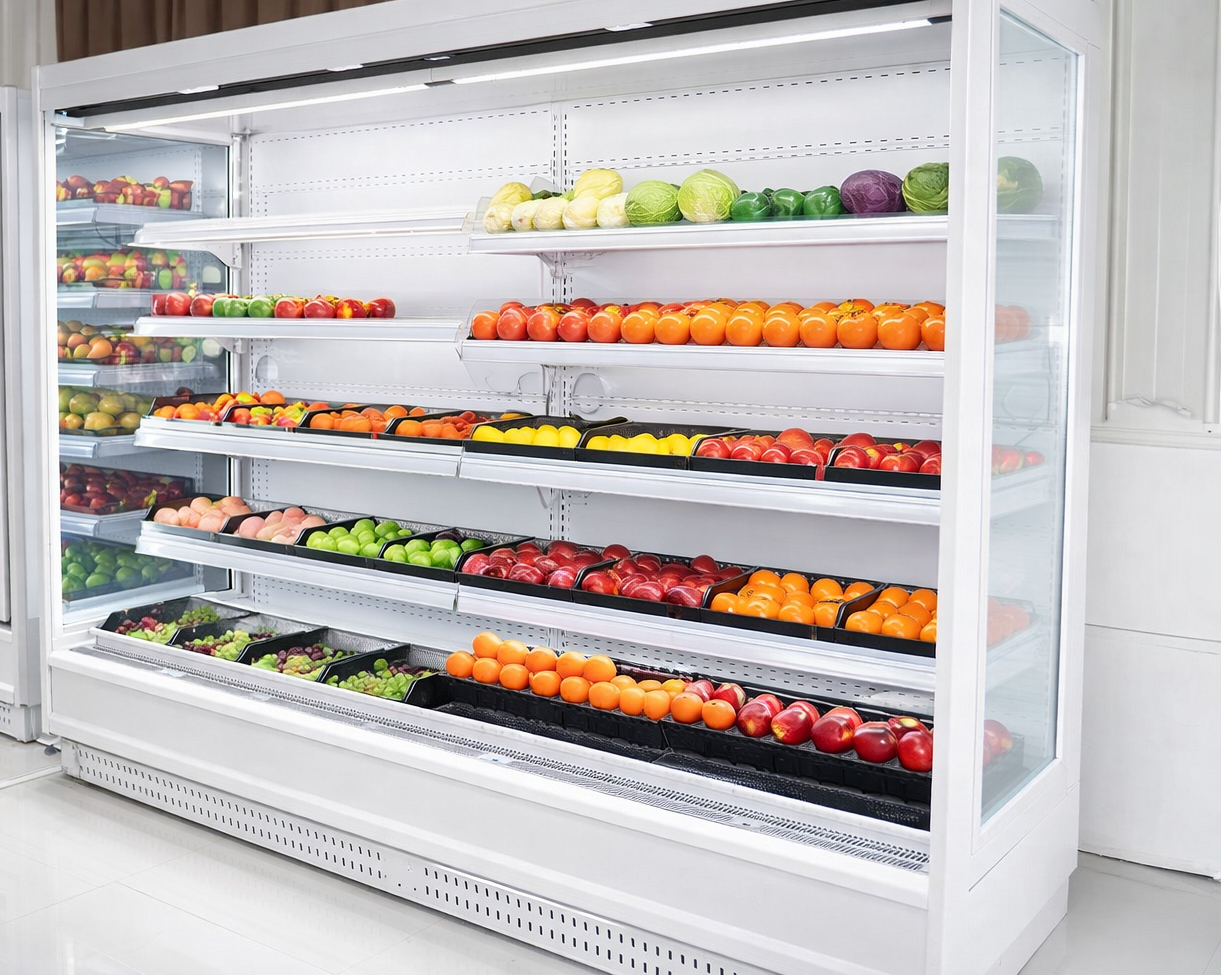
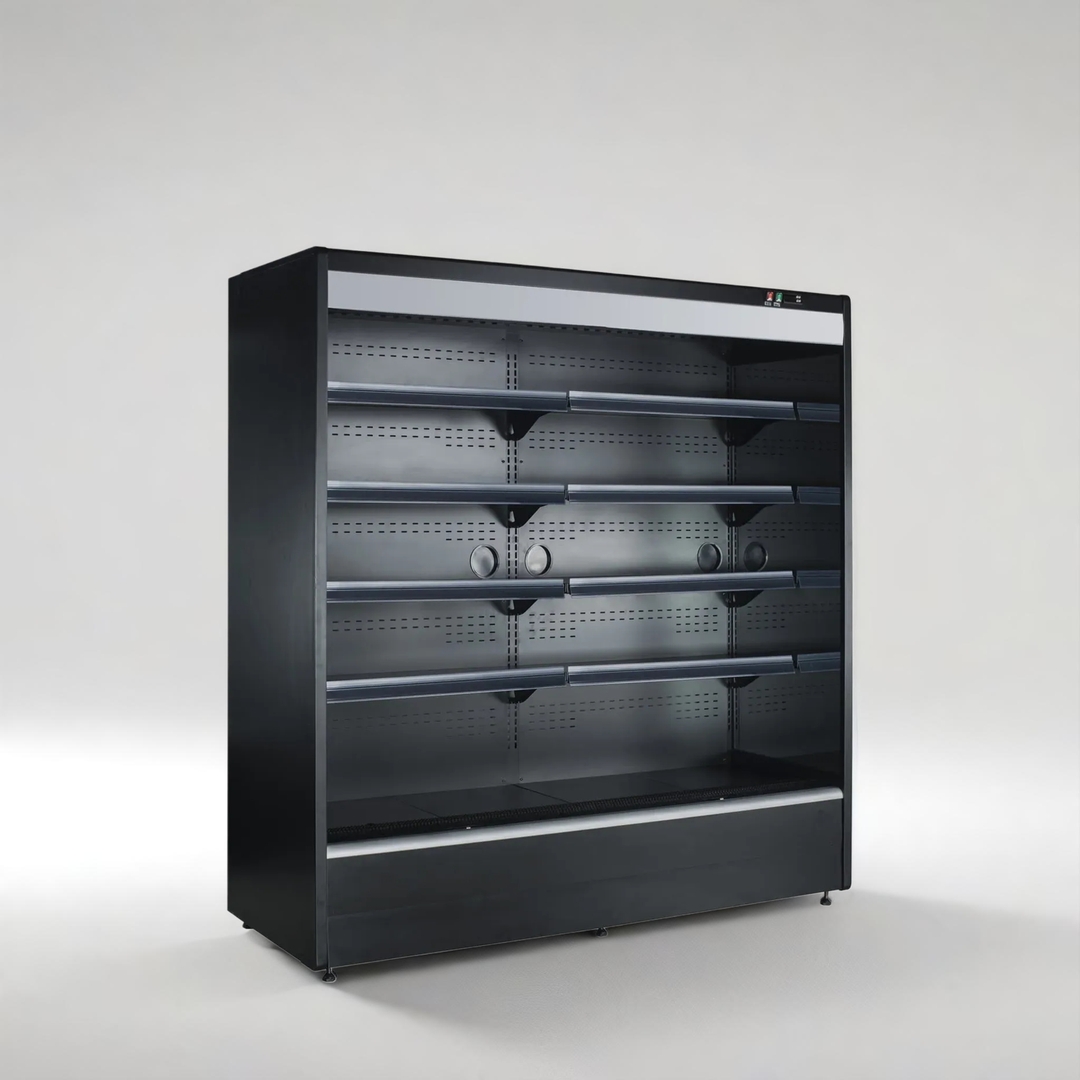
- Café: Undercounter fridge for daily use, small reach-in for display, countertop chilled display for grab-and-go items
- Catering company: Mobile refrigeration units, walk-in for base storage, separate units for allergen-sensitive items
When selecting refrigeration for your business, also consider your future growth. A unit that fits today may be inadequate in 18 months if your covers increase. Understanding the full range of refrigeration types available helps you plan a scalable system rather than a reactive one. Even in hospitality settings where beverages are a priority, the same logic applies; much like choosing coffee beans for hospitality requires matching product to service volume, refrigeration must match your operational rhythm.
Pro Tip: Resist the temptation to buy one large unit to cover everything. Layered systems with purpose-built units at each workflow stage consistently outperform oversized single units for both energy efficiency and food safety compliance.
Gathering requirements: Equipment, space, and compliance
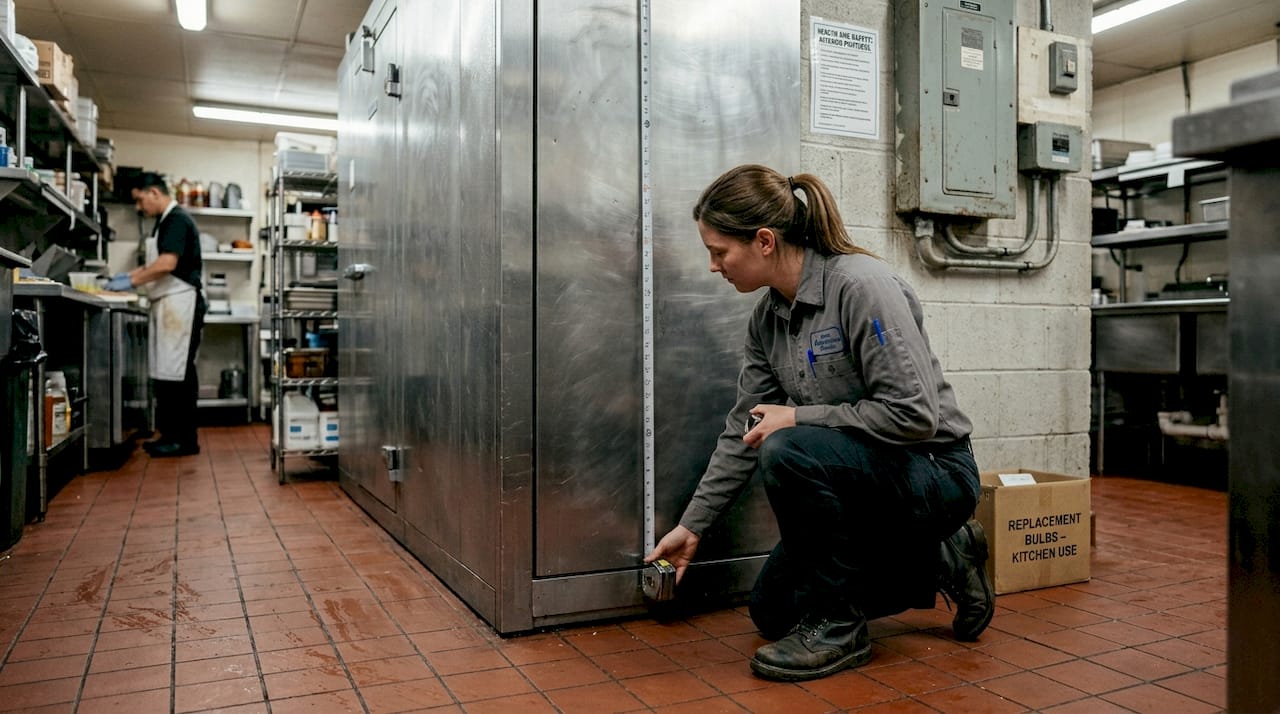
Once you know what you need, the next step is confirming that your space and infrastructure can actually support it. This stage prevents costly surprises mid-installation.
Here is a reference table covering the main equipment types, their space requirements, ideal temperature ranges, and relevant certification standards:
| Equipment type | Minimum clearance | Ideal temperature range | Certification standard |
|---|---|---|---|
| Walk-in cooler | 1–3 inches all sides | 34–38°F (1–3°C) | NSF/ANSI 7 |
| Walk-in freezer | 1–3 inches all sides | 0°F (–18°C) or below | NSF/ANSI 7 |
| Reach-in refrigerator | 1–2 inches rear | 35–40°F (2–4°C) | NSF/ANSI 7 |
| Undercounter fridge | 1 inch rear minimum | 35–40°F (2–4°C) | NSF/ANSI 7 |
| Prep table | 1–2 inches rear | 33–41°F (1–5°C) | NSF/ANSI 7 |
As refrigeration temperature standards confirm, walk-in coolers should operate at 34–38°F, while TCS (temperature-controlled for safety) foods must be held at 41°F or below, with ambient air set between 36–38°F to provide a safety buffer. Walk-in freezers must reach 0°F or below.
Beyond temperatures, your checklist before installation should cover:
- Electrical supply: Dedicated circuits for each major unit, correct voltage and amperage per manufacturer specification
- Ventilation clearance: Minimum 1–3 inches on all sides to prevent heat build-up and compressor strain
- Flooring and drainage: Level surfaces for accurate door seals; floor drains near walk-ins for defrost water
- Product separation: Separate units or clearly labelled zones for raw meat, dairy, produce, and allergen-sensitive items
- Regulatory compliance: UK food hygiene regulations and HACCP (Hazard Analysis and Critical Control Points) requirements mandate documented temperature monitoring
For more detail on refrigeration safety obligations specific to food businesses, it is worth reviewing your local authority guidance before finalising your equipment list. Booking professional fridge and freezer installation at this stage ensures your space is assessed by qualified engineers who can flag issues before they become expensive problems.
Pro Tip: Always specify wire shelving inside refrigeration units rather than solid shelves. Wire shelving allows cold air to circulate freely around stored product, eliminating warm pockets that can push food above safe temperatures.
Installation process: Step-by-step best practices
With your equipment specified and your space prepared, installation can begin. Whether you are supervising a contractor or working with a specialist team, understanding each stage keeps the process on track.
- Delivery and inspection: Check all units on arrival for transit damage. Confirm model numbers, voltage ratings, and refrigerant type against your order before signing off.
- Positioning: Place units away from ovens, dishwashers, and direct sunlight. Heat sources force compressors to work harder, increasing energy consumption and shortening equipment life.
- Levelling: Use a spirit level to confirm each unit sits perfectly flat. An unlevel unit causes door seals to fail prematurely and can affect refrigerant flow.
- Electrical connection: Connect each unit to its dedicated circuit. Never share circuits between major refrigeration units. Engage a qualified electrician for all wiring work.
- Refrigerant piping and insulation: For walk-in systems, refrigerant piping must be correctly sized, insulated, and pressure-tested by a certified F-Gas engineer. This is not a DIY task.
- Test run (empty): As installation best practice confirms, run each unit empty for a minimum of 24 hours before loading with food. Check that target temperatures are reached and held consistently.
- Airflow verification: Confirm that condenser and evaporator fans are operating correctly and that no obstructions restrict airflow inside or around the unit.
Safety warning: Improper refrigerant handling is illegal without F-Gas certification and poses serious health and environmental risks. Incorrect electrical connections are a leading cause of commercial kitchen fires. Always use qualified professionals for these elements, even if the rest of the installation is handled in-house.
Here is a quick comparison to help you decide how much to handle internally:
| Task | In-house | Professional installer |
|---|---|---|
| Positioning and levelling | Acceptable | Recommended for walk-ins |
| Electrical connection | Qualified electrician only | Always recommended |
| Refrigerant handling | Not permitted | F-Gas certified engineer required |
| Temperature verification | Can be done in-house | Specialist calibration available |
| Compliance sign-off | Self-assessed | Certified documentation provided |
For ongoing reliability, pairing installation with a structured refrigeration maintenance plan from the outset is far more cost-effective than reactive repairs. Businesses committed to long-term efficiency should also explore sustainable refrigeration options, which can reduce energy bills significantly over the equipment’s lifespan.
Verification and common mistakes to avoid
Installation day is not the finish line. Verification is what separates a compliant, efficient setup from one that quietly fails over time.
Complete these checks immediately after installation and at regular intervals thereafter:
- Temperature logging: Record temperatures at start-up, after 24 hours, and after the first full load. Use a calibrated thermometer, not just the unit’s built-in display.
- Airflow check: Confirm that cold air circulates evenly throughout the unit. Place a thermometer at the top, middle, and bottom to identify any warm zones.
- Door seal inspection: Close a sheet of paper in each door. If it pulls out easily, the gasket needs adjustment or replacement.
- Coil cleanliness: Inspect evaporator and condenser coils for dust or grease build-up. Dirty coils increase energy consumption and place excessive strain on the compressor, shortening its operational life.
- Defrost cycle confirmation: Verify that automatic defrost cycles are functioning and that drain lines are clear.
The most common installation and operational mistakes we see across commercial kitchens include:
- Overcrowding units: Blocking airflow by overpacking shelves is one of the fastest ways to create temperature failures
- Insufficient ventilation gaps: Pushing units flush against walls traps heat around the condenser and forces the compressor to overwork
- Ignoring coil maintenance: Coils clogged with grease and dust are a leading cause of compressor failure and inflated energy bills
- Mixing food categories: Storing raw proteins above ready-to-eat foods is a HACCP violation with serious food safety consequences
- Skipping temperature logs: Without documented records, you have no defence during a food safety inspection
Industry insight: One of the most common and costly mistakes in commercial kitchens is treating refrigeration as a set-and-forget system. A unit that passes its initial check can drift out of compliance within weeks if coils are not cleaned, door seals are not inspected, and temperature logs are not maintained. The business impact ranges from spoiled stock to enforcement action.
For guidance on diagnosing problems early, our troubleshooting refrigeration resource covers the most frequent failure causes and how to address them before they escalate.
Pro Tip: Schedule a formal verification check every month for the first three months after installation. After that, quarterly checks aligned with your HACCP review cycle keep you compliant and catch efficiency losses before they affect your energy bills.
What most commercial refrigeration guides miss
Most guides focus on hardware specs and installation steps. That is useful, but it misses the deeper lesson we have learned across more than a decade of commercial refrigeration work: the businesses that suffer the most costly failures are rarely those who bought cheap equipment. They are the ones who bought oversized units thinking bigger meant safer, then neglected the human oversight that keeps any system reliable.
The ‘bigger is always better’ mindset is genuinely risky. An oversized walk-in cooler that cycles on and off too frequently creates temperature instability, not stability. A tailored, layered system matched to your actual workflow is always more reliable than one premium unit doing the job of three.
We have seen a routine monthly check catch a failing door gasket before it caused an overnight temperature breach that would have cost a client over £3,000 in stock loss and a potential hygiene notice. The fix cost less than £50. Refrigeration safety insights consistently show that human oversight, not hardware alone, is what keeps commercial kitchens compliant and profitable. Build that into your operations from day one.
How EcoFrost supports seamless refrigeration setup
Getting commercial refrigeration right requires more than following a checklist. It requires experience, the right equipment, and ongoing support from engineers who understand your industry’s compliance demands.
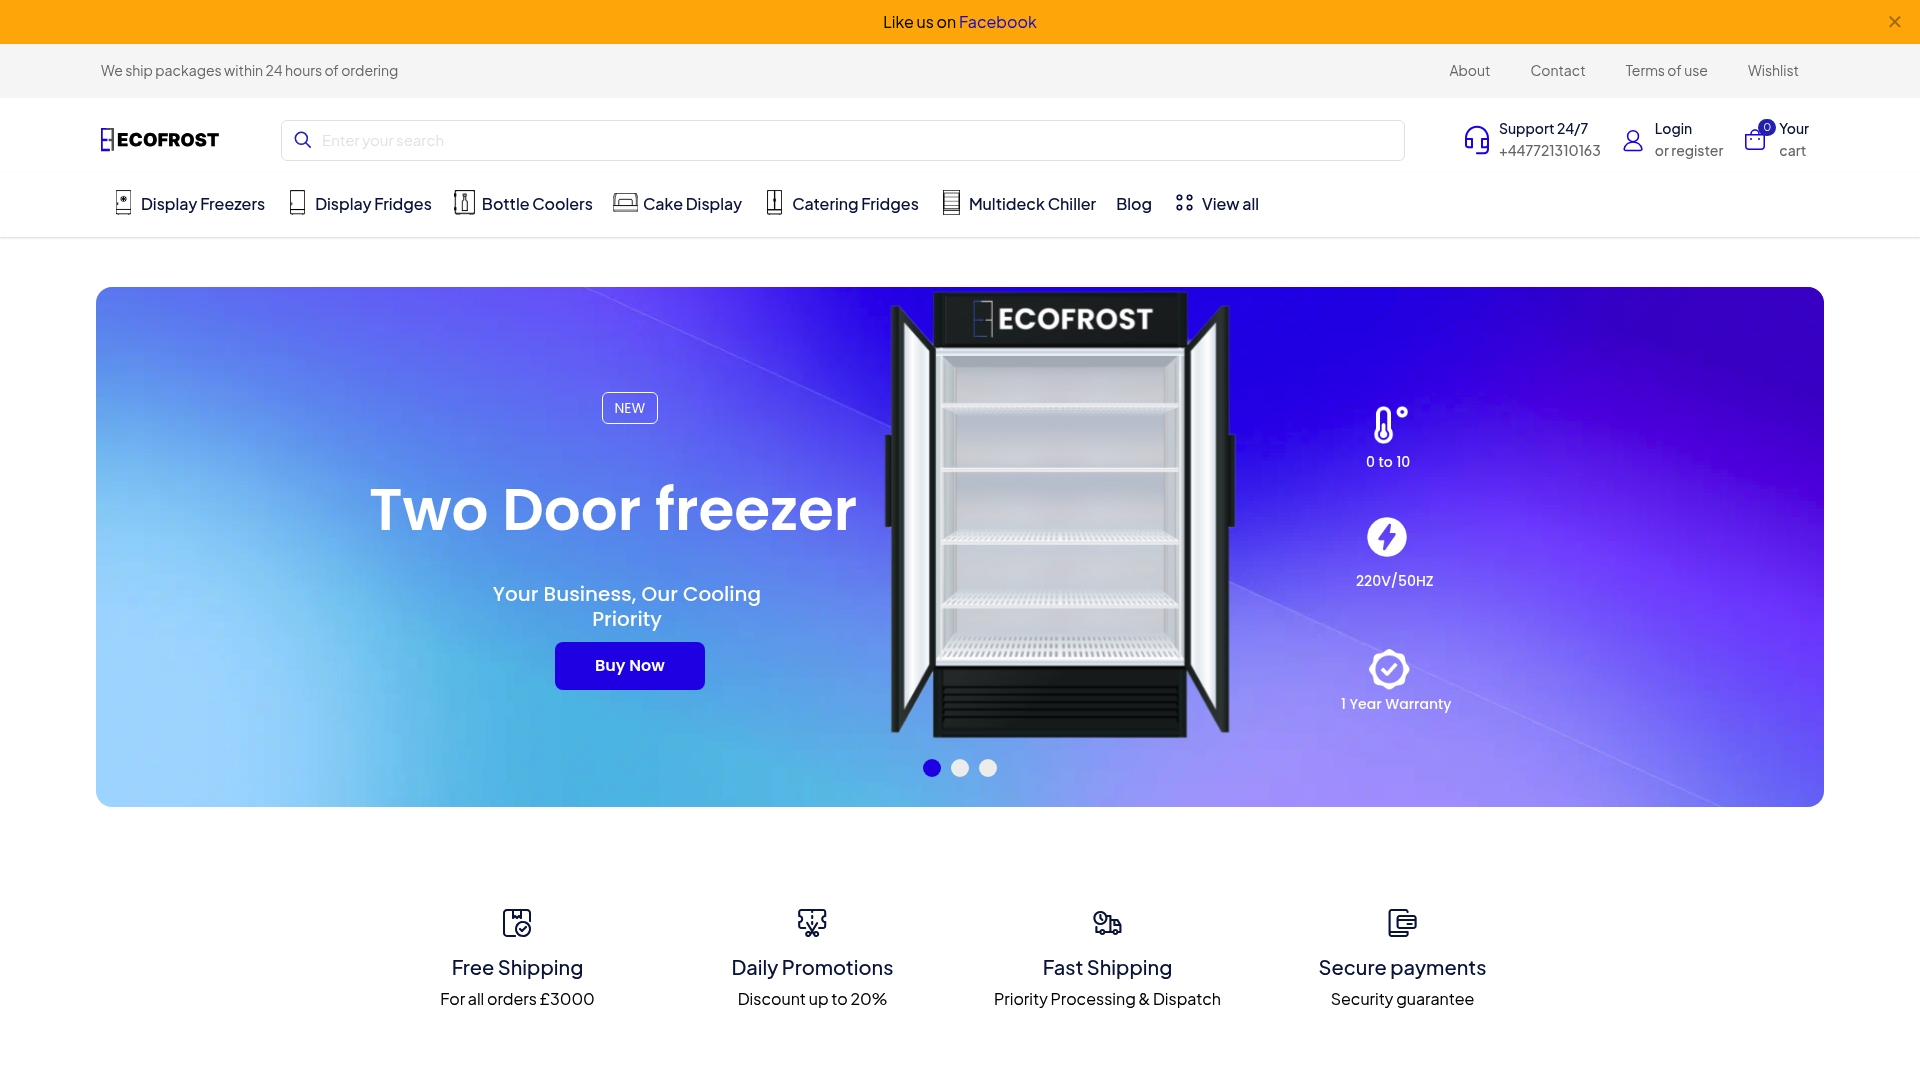
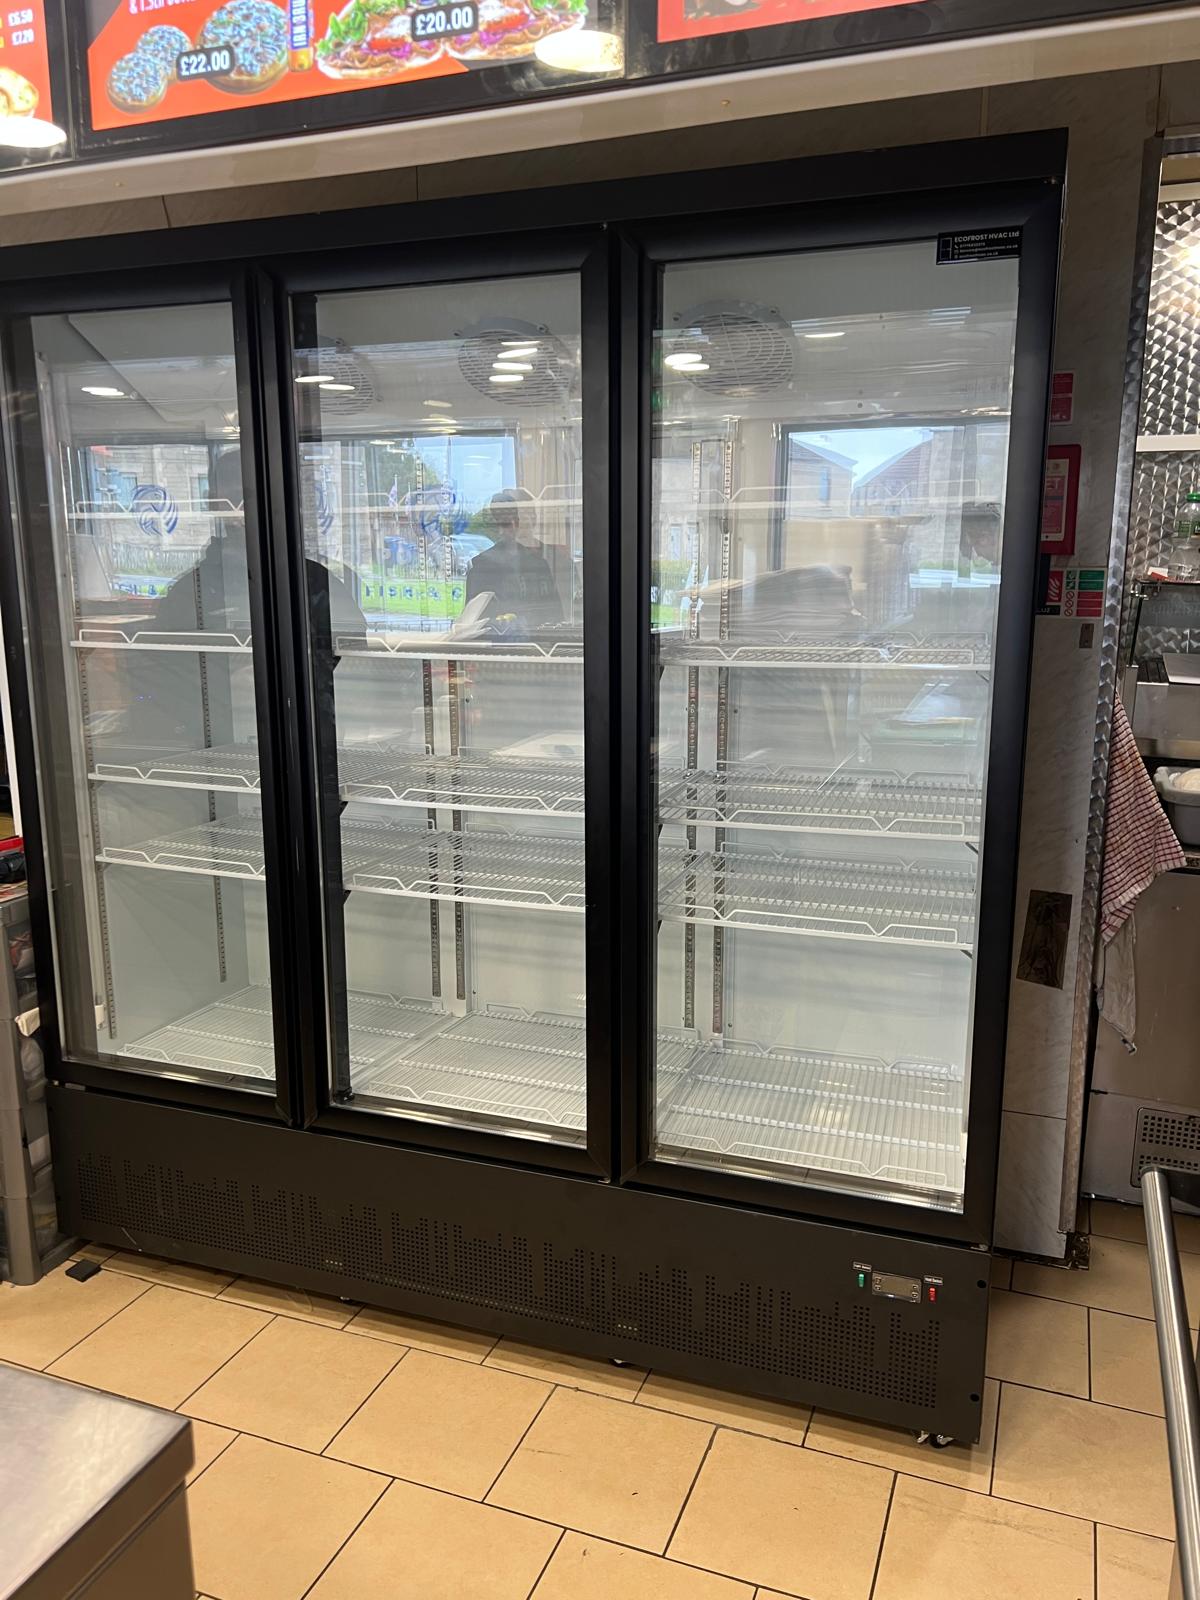
At EcoFrost, we work with restaurants, hotels, and commercial facilities across the UK to design, install, and maintain refrigeration systems that perform reliably from day one. Whether you are ready to select the right refrigeration for a new site, need refrigeration repair services for an existing system, or are considering upgrading retail refrigeration for better efficiency and profit, our team is ready to help. Contact us today to discuss a maintenance plan or get expert guidance on your next installation.
Frequently asked questions
What is the ideal temperature for walk-in coolers and freezers?
Walk-in coolers should be set to 34–38°F (1–3°C); walk-in freezers must be maintained at 0°F (–18°C) or below to ensure food safety compliance.
Should commercial refrigeration units be tested before storing food?
Yes. Run each unit empty for at least 24 hours after installation to confirm temperature stability and even airflow before loading with food product.
What are common installation mistakes to avoid?
The most frequent errors include poor ventilation clearance, overpacking shelves, dirty coils causing compressor strain, and connecting units to shared rather than dedicated electrical circuits.
How often should I check temperatures and clean commercial refrigeration?
Log temperatures daily and inspect door seals weekly. Clean condenser and evaporator coils at least monthly to prevent energy and compressor strain that shortens equipment life.