

TL;DR:
- Proper planning, site survey, and documentation are essential to ensure safe and compliant refrigeration installation.
- Professional brazing, insulation, electrical wiring, and leak testing prevent long-term failures and risks.
- Treat installation as a compliance workflow, with thorough records to protect warranties and meet regulations.
A failed refrigeration unit during a Friday evening service or a health inspection flagging inadequate temperature records can cost a restaurant or hotel thousands in spoiled stock, regulatory penalties, and reputational damage. For facilities managers and commercial owners, refrigeration installation is not simply a matter of plugging in equipment and hoping for the best. It demands a structured, compliance-led approach that covers everything from site preparation and licensed trades to thorough commissioning documentation. This guide walks you through every critical stage, giving you the confidence to oversee or coordinate a professional installation that protects your business, your food safety obligations, and your equipment warranty from day one.
Table of Contents
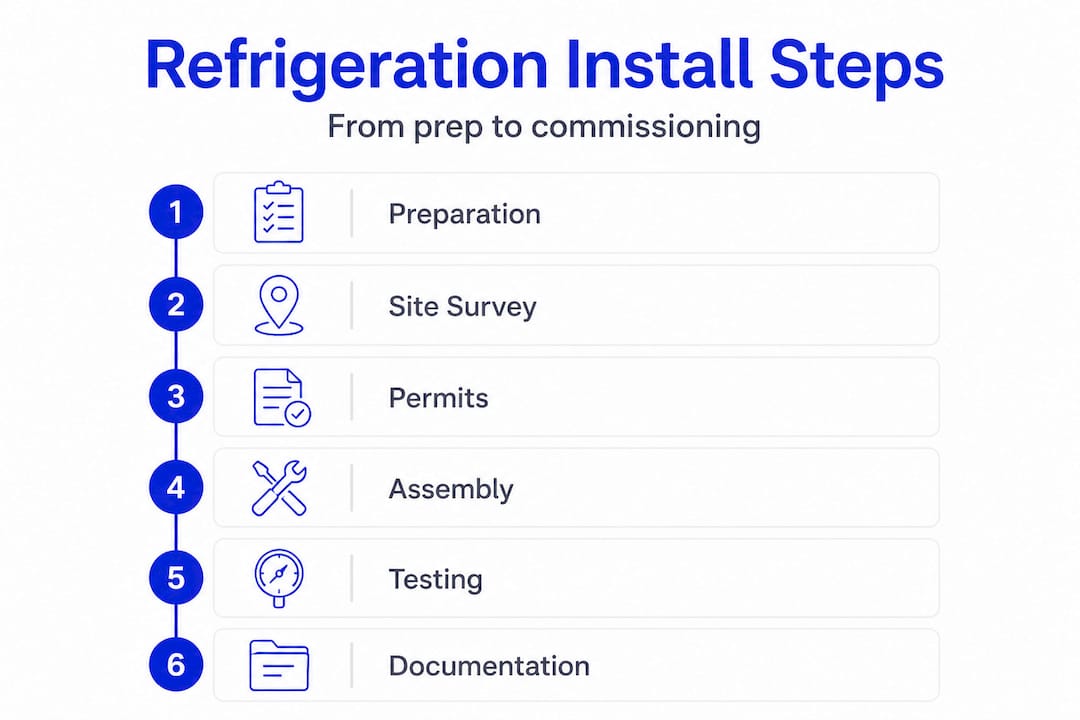
- Preparation: what you need before starting
- Physical installation: assembling, mounting, and line work
- Electrical and control systems: wiring and power safety
- Commissioning and compliance: testing, start-up, and documentation
- Why installation is a compliance and risk management workflow, not just a technical job
- Upgrade your outcomes with expert refrigeration installation support
- Frequently asked questions
Key Takeaways
| Point | Details |
|---|---|
| Solid preparation | Gather all required tools and permits before starting to prevent costly delays. |
| Technical precision matters | Steps like brazing, insulation, and leak testing must be done methodically for peak system performance. |
| Licensed pros required | Electrical work and final checks always need a licensed specialist to ensure safety and insurance coverage. |
| Document for compliance | Keeping full records of each installation phase is vital for insurance, warranty, and regulatory needs. |
| Verification is the final key | Thorough commissioning and a live test cycle confirm reliable, compliant refrigeration operation. |
Preparation: what you need before starting
With the importance established, it is time to get hands-on, starting with a thorough preparation checklist. Skipping this stage is where many installations go wrong before a single panel is positioned. A rushed site survey, missing permits, or an underspec’d electrical supply can stall the entire project mid-way and drive up costs significantly.
Tools, materials, and safety equipment
Before work begins, confirm that the following are on site and accounted for:
- Refrigerant manifold gauges and vacuum pump
- Brazing equipment and nitrogen supply (for pressure testing)
- Pipe insulation materials and sealants rated for commercial use
- Torque wrenches, pipe cutters, and flaring tools
- PPE: safety glasses, gloves rated for refrigerant handling, ear protection
- Multimeter and RCD tester for electrical checks
- Temperature data loggers for commissioning verification
- Full set of manufacturer installation manuals and warranty documentation
This is also the right moment to review a solid restaurant expansion checklist to make sure your wider operational requirements align with the refrigeration plan. A good commercial refrigeration setup plan considers not just the unit itself, but how it integrates into the whole facility workflow.
Site survey: location, utilities, and ventilation
Confirm the following before any physical work starts:
| Site factor | What to verify |
|---|---|
| Floor loading capacity | Can the floor bear the unit’s full operating weight? |
| Electrical supply proximity | Dedicated circuit available within safe cable run distance? |
| Ventilation and airflow | Sufficient clearance for condenser heat rejection? |
| Drainage access | Condensate drain route confirmed and unobstructed? |
| Ambient temperature | Is the install location within the unit’s ambient rating? |
| Access routes | Can panels, compressors, and components be moved in safely? |
Poor ventilation around a condenser is one of the most frequently overlooked issues in commercial installations. A condenser operating in an inadequately ventilated space will run hotter, work harder, and fail sooner. As part of selecting commercial refrigeration for your business, always factor the ambient conditions of your chosen location into the equipment specification.

Permits, compliance, and role assignment
Commercial refrigeration installations are subject to F-gas regulations in the UK, and certain refrigerants require that installation is carried out by F-gas certified engineers. Confirm permits with your local authority if structural alterations are involved. Collect and file all warranty cards, engineer certificates, and compliance documentation before work begins. As walk-in cooler installation guidance makes clear, refrigerant-side mechanical procedures such as leak testing, pressure testing, brazing, and suction line insulation must be handled by qualified engineers, not general tradespeople.
Pro Tip: Create a dedicated project folder, physical or digital, containing your site survey results, engineer certifications, equipment datasheets, and permit approvals. This single action can prevent weeks of delay if a warranty claim or insurance query arises later.
Physical installation: assembling, mounting, and line work
Now that you are prepared, walk through the core physical installation, where precision and safety are paramount. This is the stage where technical errors have the most lasting consequences, from refrigerant leaks and energy losses to structural failures and condensation damage.
Step-by-step installation process
-
Position the cabinet or panels. Level the unit carefully using a spirit level and adjustable feet. For walk-in cold rooms, assemble floor panels first, then wall panels, then the ceiling. Follow the manufacturer’s sequence precisely to ensure panel joints are airtight.
-
Mark and drill penetrations. Identify all cable, pipework, and drain penetrations. Use appropriately rated core drills and ensure every penetration is sealed with fire-rated and vapour-barrier sealant after pipework is fitted.
-
Run and braze refrigerant lines. Refrigerant line set work including brazing must be carried out by an F-gas certified engineer. Use nitrogen purging during brazing to prevent internal oxidation, which can contaminate the system and cause premature compressor failure.
-
Perform nitrogen pressure testing. Before connecting the compressor, pressurise the system with dry nitrogen to the manufacturer’s specified test pressure (typically 300 to 400 psi for most commercial systems). Hold the pressure for a minimum of 30 minutes and check every joint for leaks using an electronic leak detector or soapy water solution.
-
Insulate the suction line. This step is frequently rushed or skipped on site, yet it is one of the most impactful. An uninsulated suction line loses cooling capacity, promotes surface condensation, and forces the compressor to work harder. Use closed-cell foam insulation rated for the operating temperature range and ensure all joints are sealed with vapour-barrier tape.
-
Mount and secure the condensing unit. Whether floor, wall, or ceiling mounted, ensure the unit is secured to a load-bearing surface with anti-vibration mounts. Vibration transmission into building fabric causes noise complaints and accelerates component fatigue.
Good commercial fridge and freezer installation practice also requires checking that refrigerant line runs are as short and direct as possible. Excessive line length increases system pressure drop and reduces efficiency, which has a direct impact on running costs over the equipment’s lifetime.
“Proper brazing and suction line insulation are not optional finishing touches. They are fundamental to whether your refrigeration system performs as specified from the first day of operation and continues to do so for years ahead.”
Mounting options at a glance
| Mounting type | Best suited for | Key consideration |
|---|---|---|
| Floor-mounted condensing unit | Large walk-in cold rooms | Ensure level base, anti-vibration feet |
| Wall-mounted evaporator | Smaller cold rooms, prep areas | Check wall load-bearing capacity |
| Ceiling-mounted unit | Retail display areas, high-traffic kitchens | Confirm structural support and service access |
Understanding thermal performance in refrigeration is essential when selecting mounting position, as airflow patterns differ significantly depending on unit placement. A ceiling-mounted evaporator, for instance, distributes air more evenly across a large cold room than a wall-mounted alternative, which can create temperature stratification if not positioned carefully.
Pro Tip: During the brazing process, always cap open pipe ends with nitrogen-purged caps when not actively working on a connection. Even brief exposure to atmospheric moisture can introduce contamination that shortens compressor life.
Electrical and control systems: wiring and power safety
With the system physically assembled, the next crucial step is powering it safely and smartly. Electrical errors at this stage carry the highest risk, both for immediate safety and long-term legal liability. This is the phase where cutting corners can invalidate your equipment warranty, void your insurance, and create a serious risk to staff and customers alike.
Safe wiring: the required sequence
-
Confirm dedicated electrical supply. Commercial refrigeration must be connected to a dedicated circuit with an appropriately rated RCD (residual current device). Do not share circuits with other high-draw equipment.
-
Verify cable sizing. The supply cable must be sized to handle the compressor’s full load amperage plus a safety margin. Undersized cabling is a common cause of nuisance tripping and, in worse cases, fire.
-
Connect thermostats and sensors. Once the main supply is confirmed safe and isolated, sensors and thermostats can be wired into the control panel following the manufacturer’s wiring schematic. Label every connection clearly for future maintenance reference.
-
Install and test the control panel. Energise the control system independently before connecting the compressor. Verify that all sensor readings are plausible and that alarm functions trigger correctly at test thresholds.
-
Commission electrical safety checks. A licensed electrician must complete and sign off an electrical installation condition report (EICR) or equivalent certification. This document is essential for food safety compliance audits and insurance purposes.
Critical warning: Unlicensed electrical work on commercial refrigeration systems is illegal in the UK under the Electricity at Work Regulations 1989. Beyond the legal risk, any incident traced to unlicensed wiring will invalidate your insurance policy and may result in personal liability for the business owner or facilities manager responsible.
Maintaining refrigeration compliance across electrical, refrigerant, and food safety regulations is not bureaucratic box-ticking. It is the evidence base that protects your business when something goes wrong. Always retain the licensed electrician’s sign-off paperwork alongside your commissioning records.
Pro Tip: Ask your electrician to photograph all completed connections before closing the control panel casing. These images become invaluable reference points during future servicing or fault diagnosis, especially when the original installer is no longer involved.
Commissioning and compliance: testing, start-up, and documentation
The hardware and wiring are now in place. All that is left is bringing the system to life and crossing the regulatory finish line. This stage is where the whole project either earns its compliance credentials or falls short at the last hurdle.
Start-up procedure
-
Pull vacuum. Using a two-stage vacuum pump, evacuate the system to below 500 microns. Hold the vacuum for a minimum of 30 minutes to confirm system integrity. A rising vacuum reading indicates residual moisture or a leak, both of which must be resolved before charging.
-
Charge refrigerant. Introduce refrigerant to the manufacturer’s specified weight using calibrated scales. Overcharging or undercharging both degrade system performance and can cause premature compressor failure.
-
Calibrate controls. Set thermostats and temperature sensors to target operating ranges, typically 0°C to 5°C for refrigeration and minus 18°C or below for freezing. Confirm sensor accuracy against a calibrated reference thermometer.
-
Run the initial test cycle. As confirmed by walk-in cooler commissioning guidance, run a 12 to 24-hour test cycle before the unit is brought into live operation. Monitor temperature logs throughout and check for stability within the target range.
-
Inspect seals, gaskets, and door gaps. Walk the unit with a torch and check every door seal for compression, every panel seam for light leaks, and every gasket for tears or deformation. A failing door seal can increase energy consumption by up to 20% and compromise temperature maintenance under busy trading conditions.
-
Complete commissioning documentation. Record all test results, refrigerant charge weights, vacuum readings, and temperature stability data. These records are the foundation of your compliance file.
Common causes of start-up failure
- Residual moisture in the system due to an inadequate vacuum pull
- Refrigerant overcharge causing high head pressure and compressor shutdown
- Incorrectly wired thermostat preventing the compressor from cycling on
- Air infiltration through unsealed panel penetrations
- Faulty or miscalibrated temperature sensors giving false readings
Setting up ongoing refrigeration maintenance schedules from the point of commissioning is best practice. A quarterly inspection programme, beginning within the first three months of operation, catches early-stage issues before they become costly failures.
Why installation is a compliance and risk management workflow, not just a technical job
After working across UK, Qatari, and Indian commercial facilities for over a decade, we have observed a pattern that consistently separates high-performing operations from those that face repeated breakdowns and compliance failures. It is not the quality of the equipment. It is the discipline of the process.
The assumption that installation success is measured purely by whether the unit gets cold is a costly oversimplification. A refrigeration system can appear to function correctly for several months while carrying concealed risks: an underdocumented refrigerant charge, a thermostat that was never formally calibrated, an electrical connection that was not signed off by a licensed engineer. These issues are invisible until a health inspector arrives, an insurance claim is filed, or a warranty is disputed.
As ServiceTitan’s analysis of commercial refrigeration practice notes, facilities operators should treat installation as a compliance-and-warranty workflow, not merely a physical setup. Electrical safety checks, pressure and leak validation, and commissioning documentation are recurring themes in risk management precisely because they surface most frequently in claim disputes and regulatory investigations.
The uncomfortable truth is that rushed installations almost always cost more in the long run. A missed insulation step leads to elevated running costs. An undocumented vacuum pull becomes a liability when a refrigerant leak emerges six months later. A missing electrician’s certificate means your insurer can decline a damage claim with full legal justification.
True professionals in this field over-deliver on documentation. They treat every commissioning sheet and every engineer’s certificate as evidence of due diligence, not paperwork for its own sake. Understanding your commercial refrigeration responsibilities as a business owner means recognising that the paper trail is as important as the pipework. If you want to understand how refrigeration compliance essentials connect to your broader operational risk strategy, start with the commissioning file and work backwards.
Upgrade your outcomes with expert refrigeration installation support
For facilities managers and commercial owners who want certainty rather than risk, partnering with experienced refrigeration professionals makes every stage of this process more reliable and less stressful.
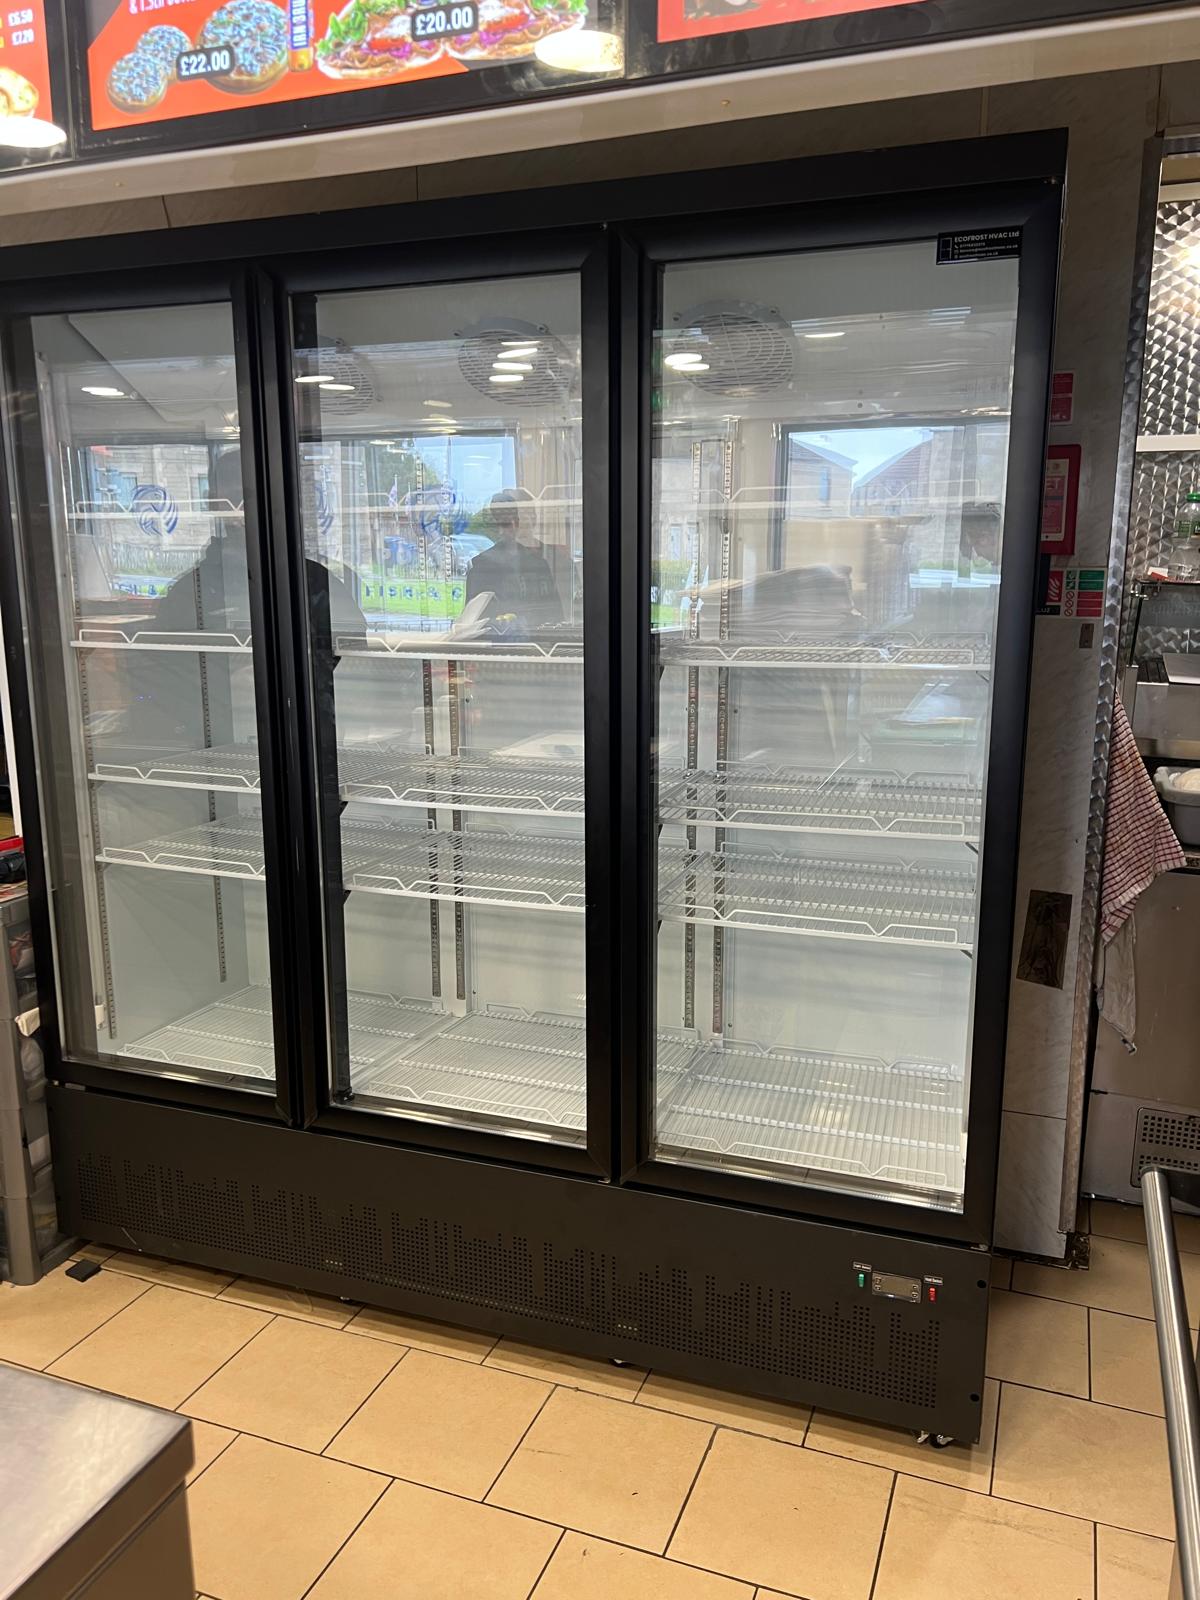
EcoFrost brings over 10 years of specialist experience in commercial refrigeration installation across the UK, Qatar, and India. Our engineers are F-gas certified, fully insured, and trained to deliver installations that meet current UK compliance standards from day one. We handle everything from initial site surveys and system selection through to commissioning documentation and ongoing maintenance scheduling. If you are looking for cost-efficient commercial solutions, want support with commercial air conditioning installation, or need a reliable refrigeration maintenance partner, contact EcoFrost today to speak with an expert who understands the real demands of commercial facility management.
Frequently asked questions
What are the most common causes of refrigeration installation failure?
Incorrect brazing, poor suction line insulation, wiring faults, and undocumented commissioning are the leading causes, as walk-in cooler installation guidance consistently highlights. Each of these failure points is preventable with qualified engineers and a structured process.
Can I install commercial refrigeration without a licensed electrician?
No. Wiring must be performed by a licensed electrician to ensure safety, insurance validity, and legal compliance. Dedicated circuits and licensed work are mandatory phases, not optional enhancements.
How can I ensure my installation is warranty- and compliance-safe?
Keep detailed records of all commissioning steps, engineer certificates, and pressure and leak test results. As ServiceTitan’s commercial refrigeration guidance advises, treating installation as a compliance workflow is the most effective way to protect warranty and insurance entitlements.
How long should I run the initial test cycle?
Run a 12 to 24-hour test cycle, calibrating sensors and checking for temperature stability, leaks, and door gaps throughout. Do not load the unit with stock until the full test period confirms stable, consistent performance within the specified temperature range.